
Step-by-step instructions using the example of the hosting provider PinVPS (pinvps.com) with remote access via VNC.
What is this article about?
ComfyUI is a graphical user interface (GUI) for working with Stable Diffusion and other open source image generation models using neural networks. In this article, we will explain how to deploy ComfyUI on a Mac mini running macOS and use it as a server: with remote network access, autostart, basic security settings, and Apple Silicon GPU (MPS/Metal) generation. The minimum requirements for comfortable operation are a Mac mini M2 with 16 GB of RAM.
Quick, step-by-step plan:
- Prepare macOS and install the Xcode Command Line Tools.
- Install a VNC client for initial access. Use RealVNC Viewer as an example.
- Download ComfyUI for macOS (ARM64) and launch the setup wizard for the first time.
- Install Git via Xcode CLT, Homebrew, or pkg.
- Configure the environment and enable MPS (GPU on Apple Silicon).
- Load models and perform the first render.
- Some observations about VNC delays and alternatives to AnyDesk/TeamViewer.
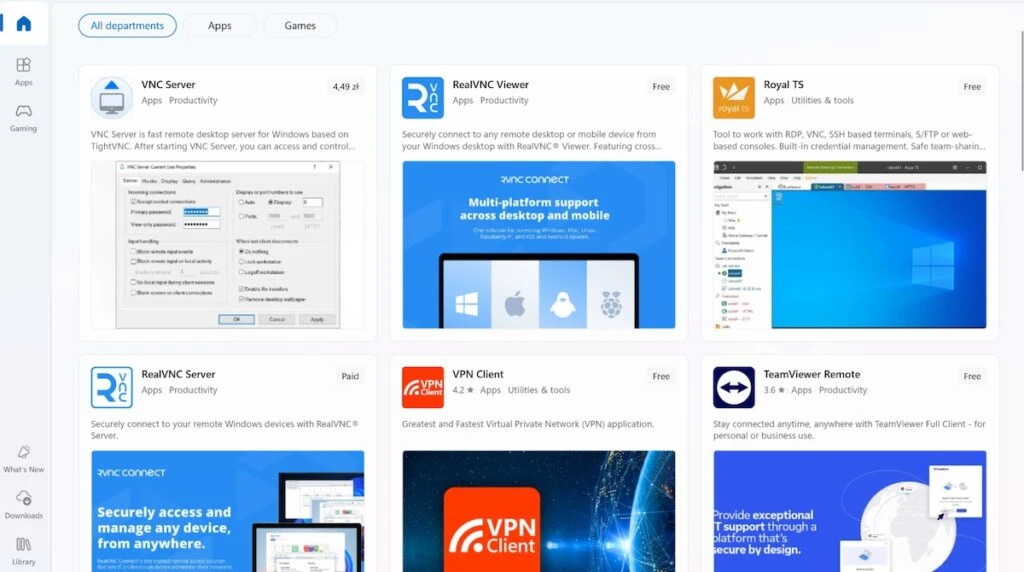
Step 1. Install the VNC client (RealVNC Viewer) on your work PC.
We will connect to a Mac mini rented from PinVPS (https://pinvps.com/mac-mini/). Initial access is usually provided via VNC. If you are working on an Apple device, the VNC client is already built in. If you are using Windows, you will need to install it separately. Find “RealVNC Viewer” in the Microsoft Store and install the application. Alternative: winget (`winget install RealVNC.RealVNCViewer`).
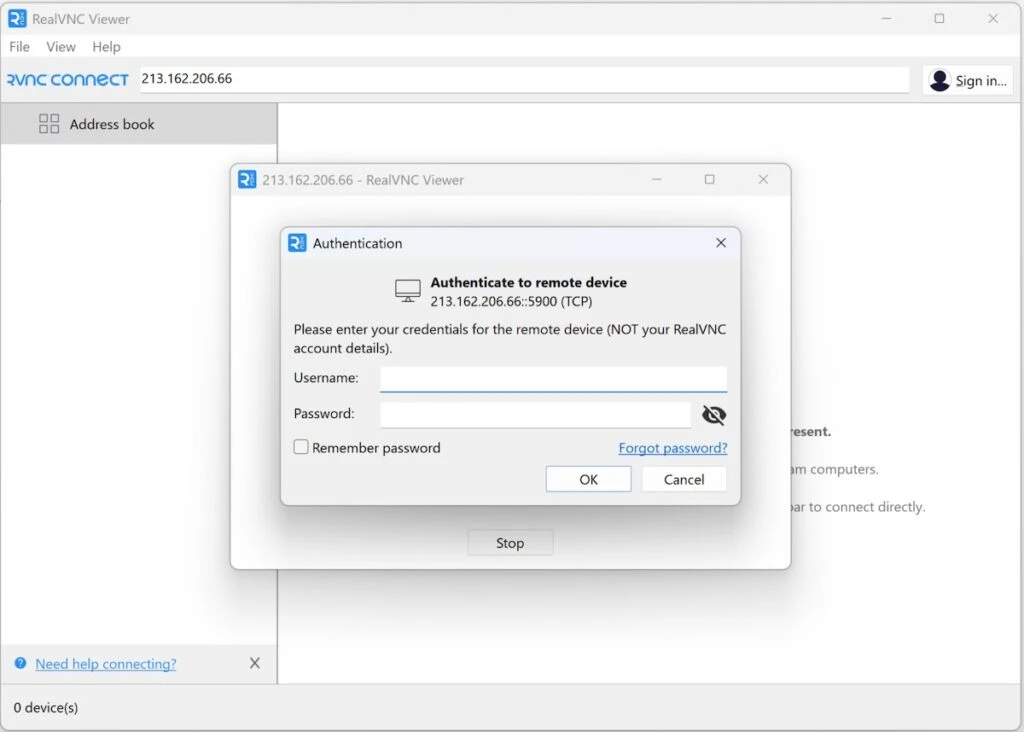
Step 2. Connect to the Mac mini via VNC: enter the IP address, login, and password.
Enter the IP address and port (usually 5900), then use the username and password provided by PinVPS. This is not a RealVNC account. If necessary, check “Remember password.” If you are connecting from macOS, you can launch the VNC client via Finder → Go → Connect to Server… → enter vnc://IP address. If you see an encryption warning, this is normal for Mac mini in the default configuration from the provider.
Step 3. Download ComfyUI for macOS (Apple Silicon)
On your remote macOS desktop, open comfy.org → Install Now and click “Download for Mac.” Open the downloaded DMG (arm64) and drag ComfyUI to “Applications.” This is convenient for a quick smoke test; we will still configure server launch from the GitHub version later.

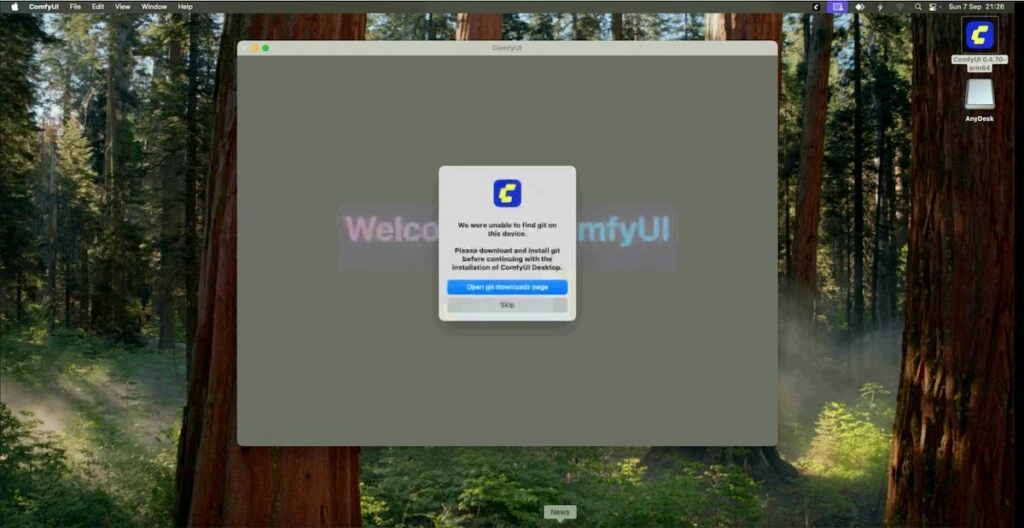
Step 4 — Install Git (ComfyUI requires it to install nodes)
ComfyUI Desktop uses git to install/update custom nodes. If the system reports that git is not found, install it using one of the following methods:
• Xcode Command Line Tools: `xcode-select –install`;
• Homebrew: `brew install git`;
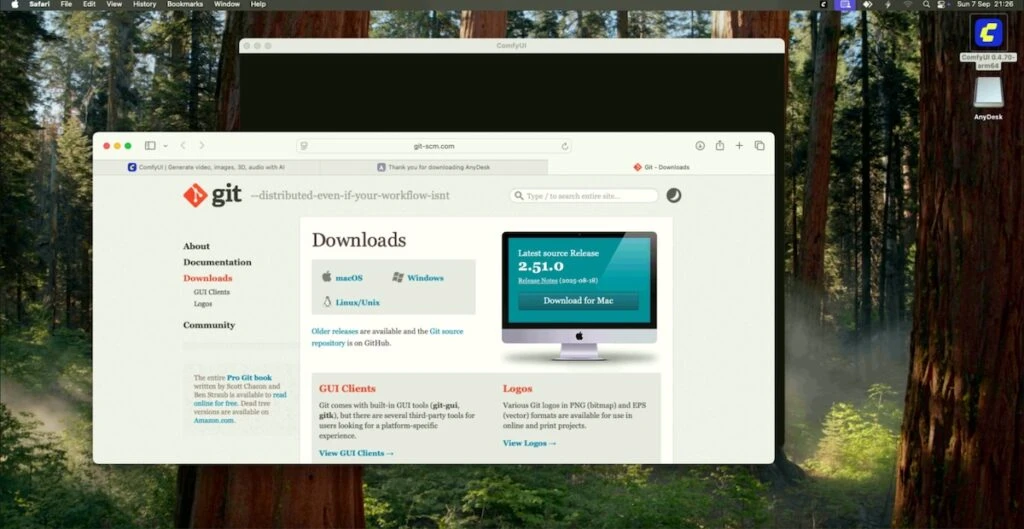
• Installer from git-scm.com: download .pkg and follow the wizard.
If ComfyUI cannot see git due to PATH, add `/opt/homebrew/bin` to `/etc/paths.d/homebrew` and restart the session.
Step 5 — Install Homebrew and Git
If Homebrew is not yet installed:
/bin/bash -c “$(curl -fsSL https://raw.githubusercontent.com/Homebrew/install/HEAD/install.sh)”
Then add the environment (Apple Silicon): `echo ‘eval “$(/opt/homebrew/bin/brew shellenv)”’ >> ~/.zprofile` and run `eval “$(/opt/homebrew/bin/brew shellenv)”`. After that, install git: `brew install git`.


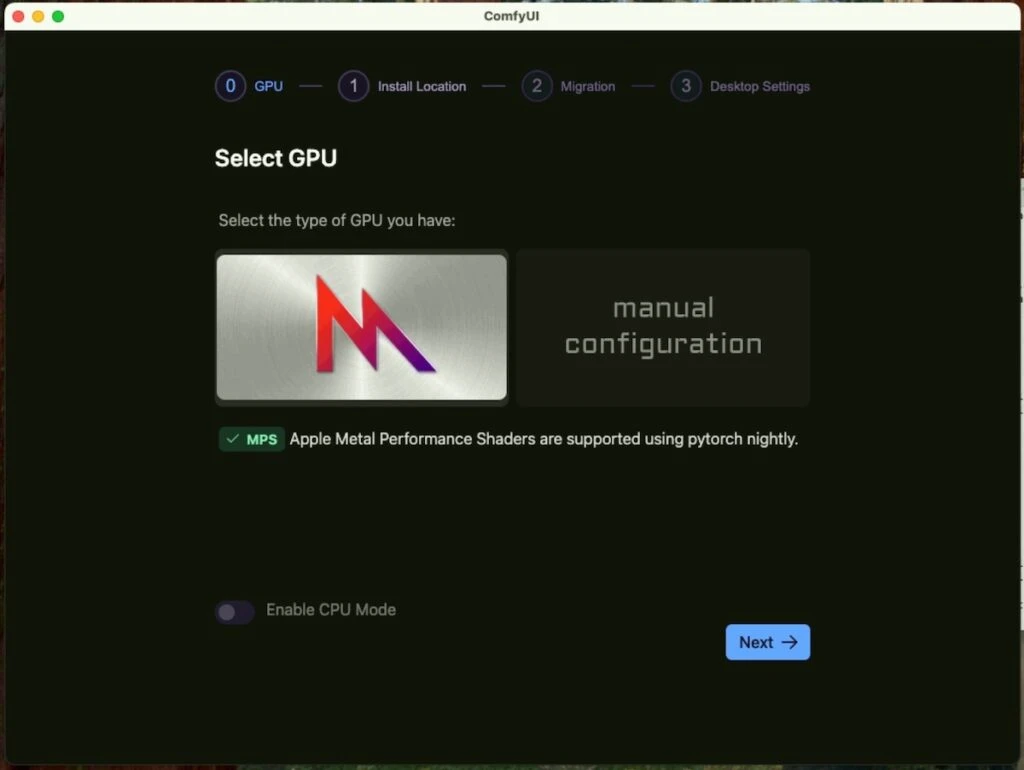
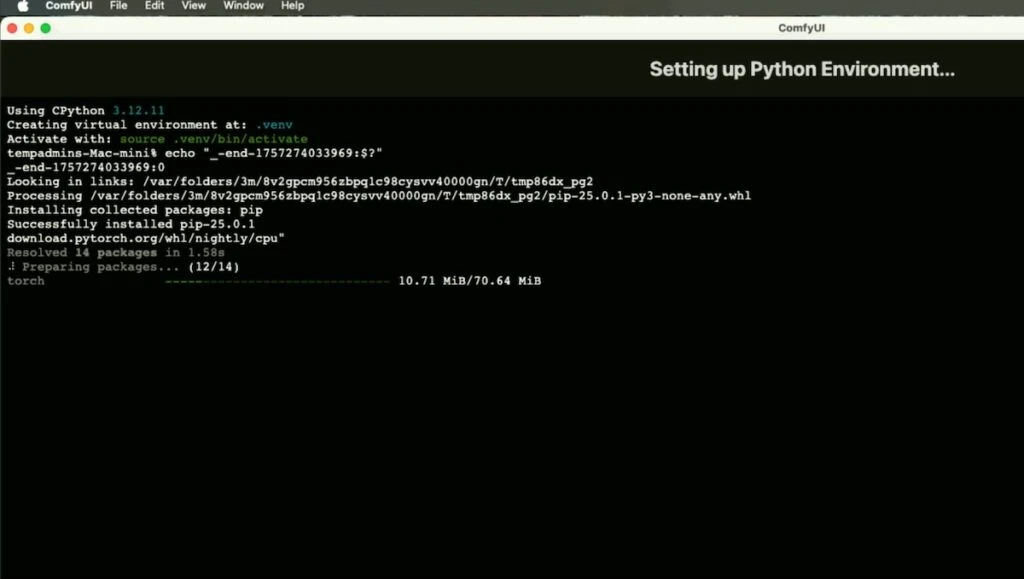
Step 6. ComfyUI Wizard: Select GPU (MPS) and set environment
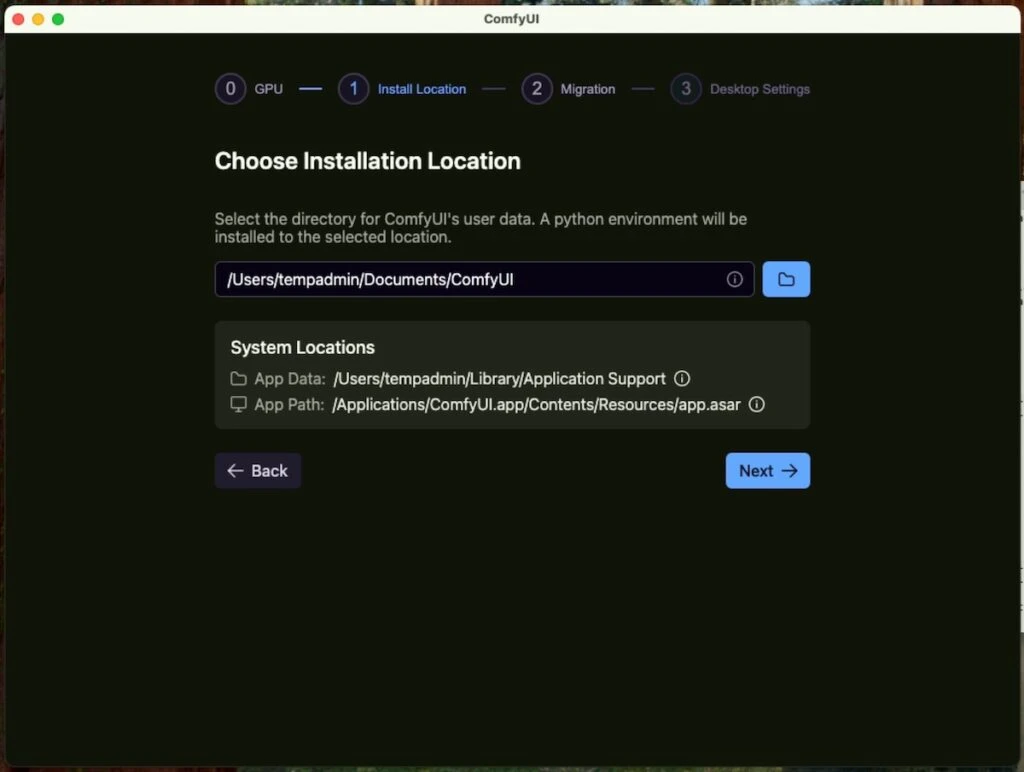
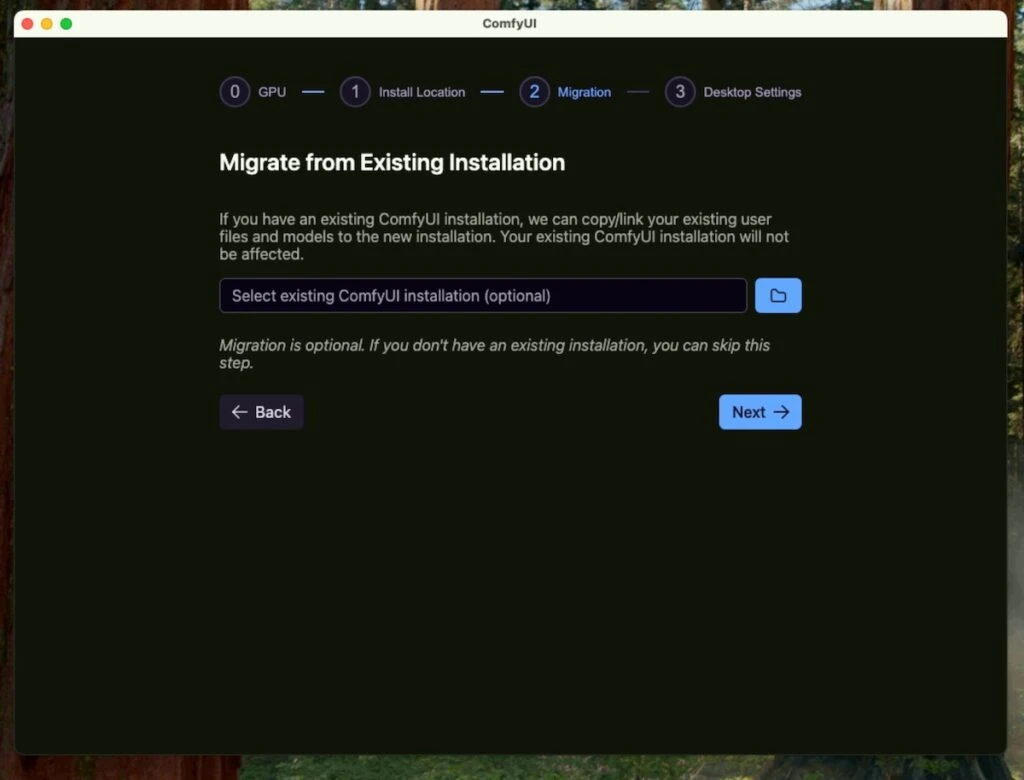
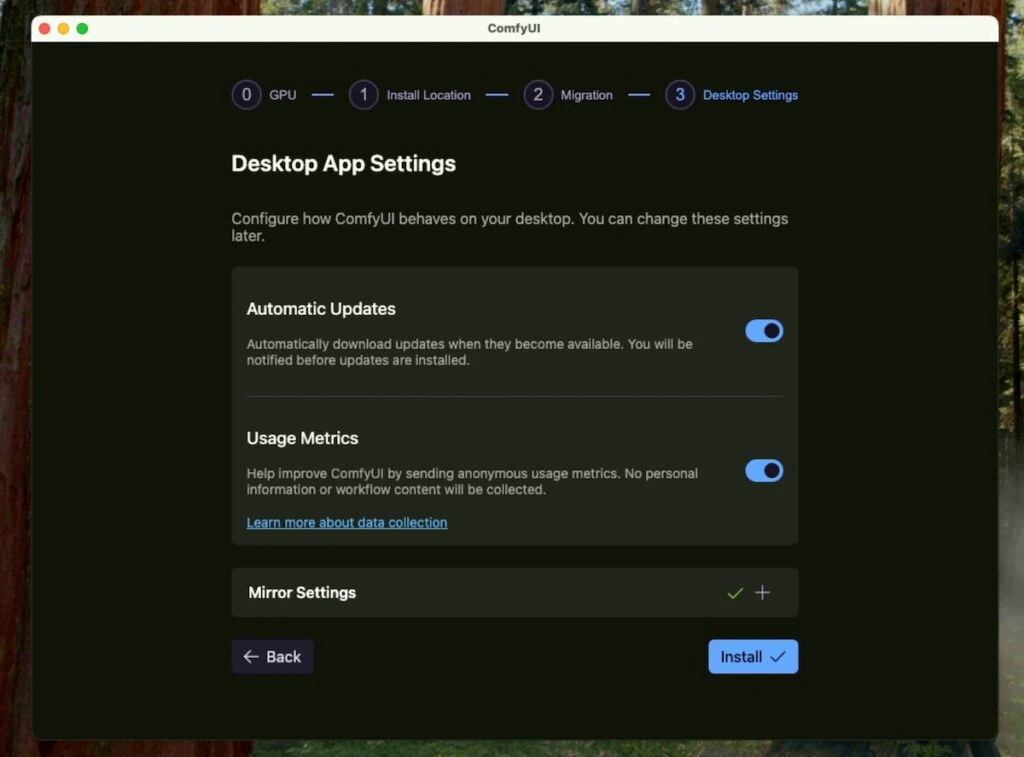
In the wizard, select MPS (Apple Metal Performance Shaders) — this is the GPU for Apple Silicon; leave CPU mode disabled. Specify the user data directory (for example, ~/Documents/ComfyUI); you can skip migration. Next, enable/disable auto-updates and click Install. The wizard will create a virtual environment and install PyTorch.
Important: on macOS, torch wheels are marked as cpu, but there is MPS support inside. For stability, add `PYTORCH_ENABLE_MPS_FALLBACK=1` to the environment. You can check the availability of MPS as follows:
python -c “import torch;print(torch.backends.mps.is_available())”
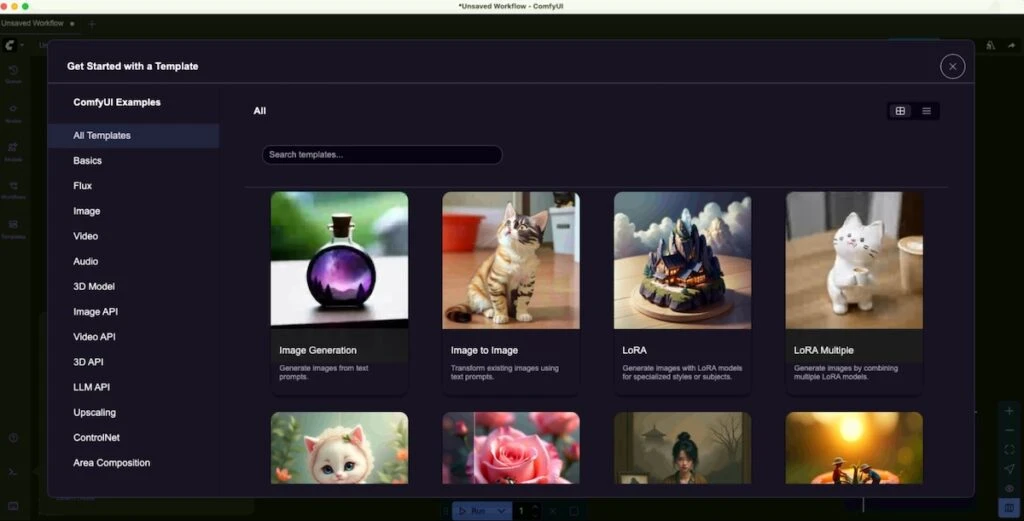
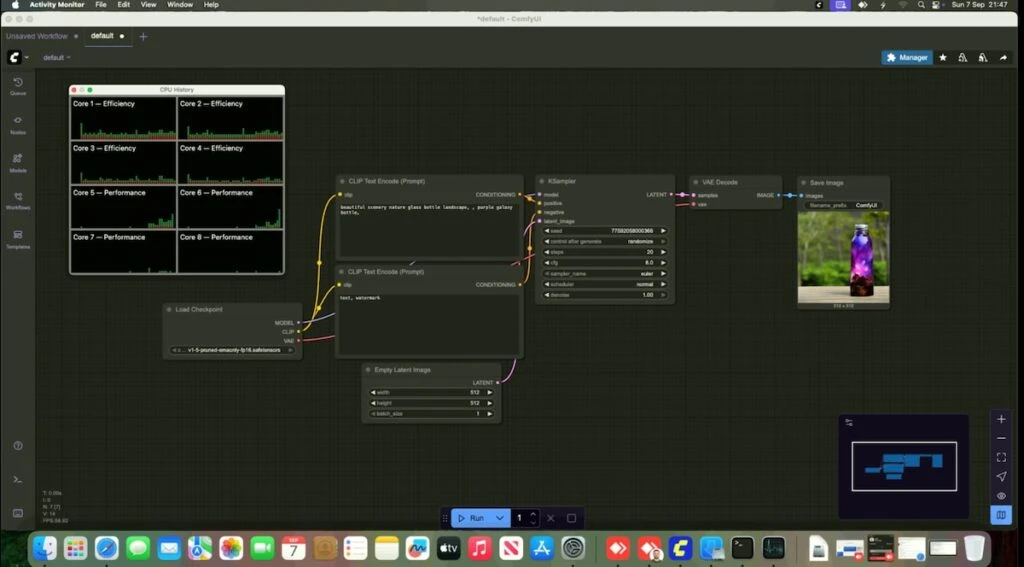
Step 7. Download the models and do the first render
Open Templates → Image Generation and download the example. If Missing Models pops up, download the recommended checkpoint automatically or place it manually in ~/Documents/ComfyUI/models/checkpoints/. Then, in Load Checkpoint, select the model and click Run. The results will appear in the output/ folder.

If VNC is running slowly
If you experience lag via VNC, try AnyDesk or TeamViewer—they are better suited to unstable networks. For security, use complex passwords, 2FA, and disable permanent access when it is not needed. In VNC itself, you can reduce the color depth and disable wallpaper to reduce traffic and speed up the update of the broadcast to your computer.